


ASSEMBLY GUIDES
HELP AT YOUR FINGERTIPS
INSTALLATION GUIDES
Ceiling Pikler Installation Manual
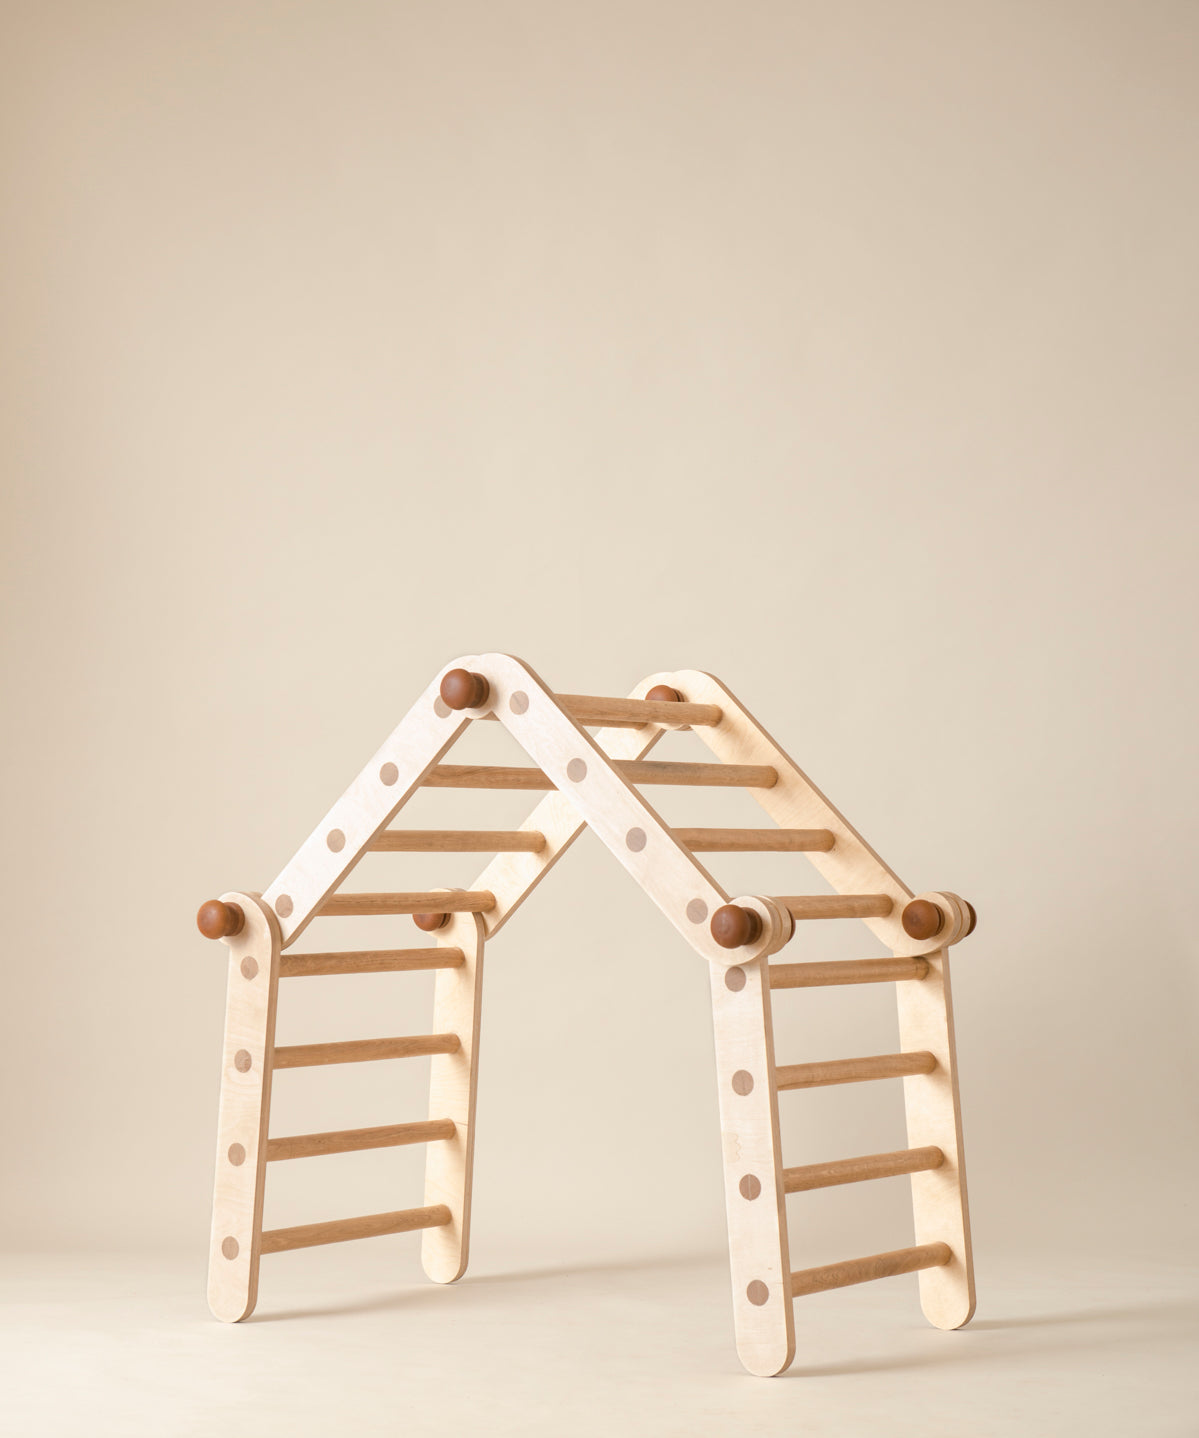
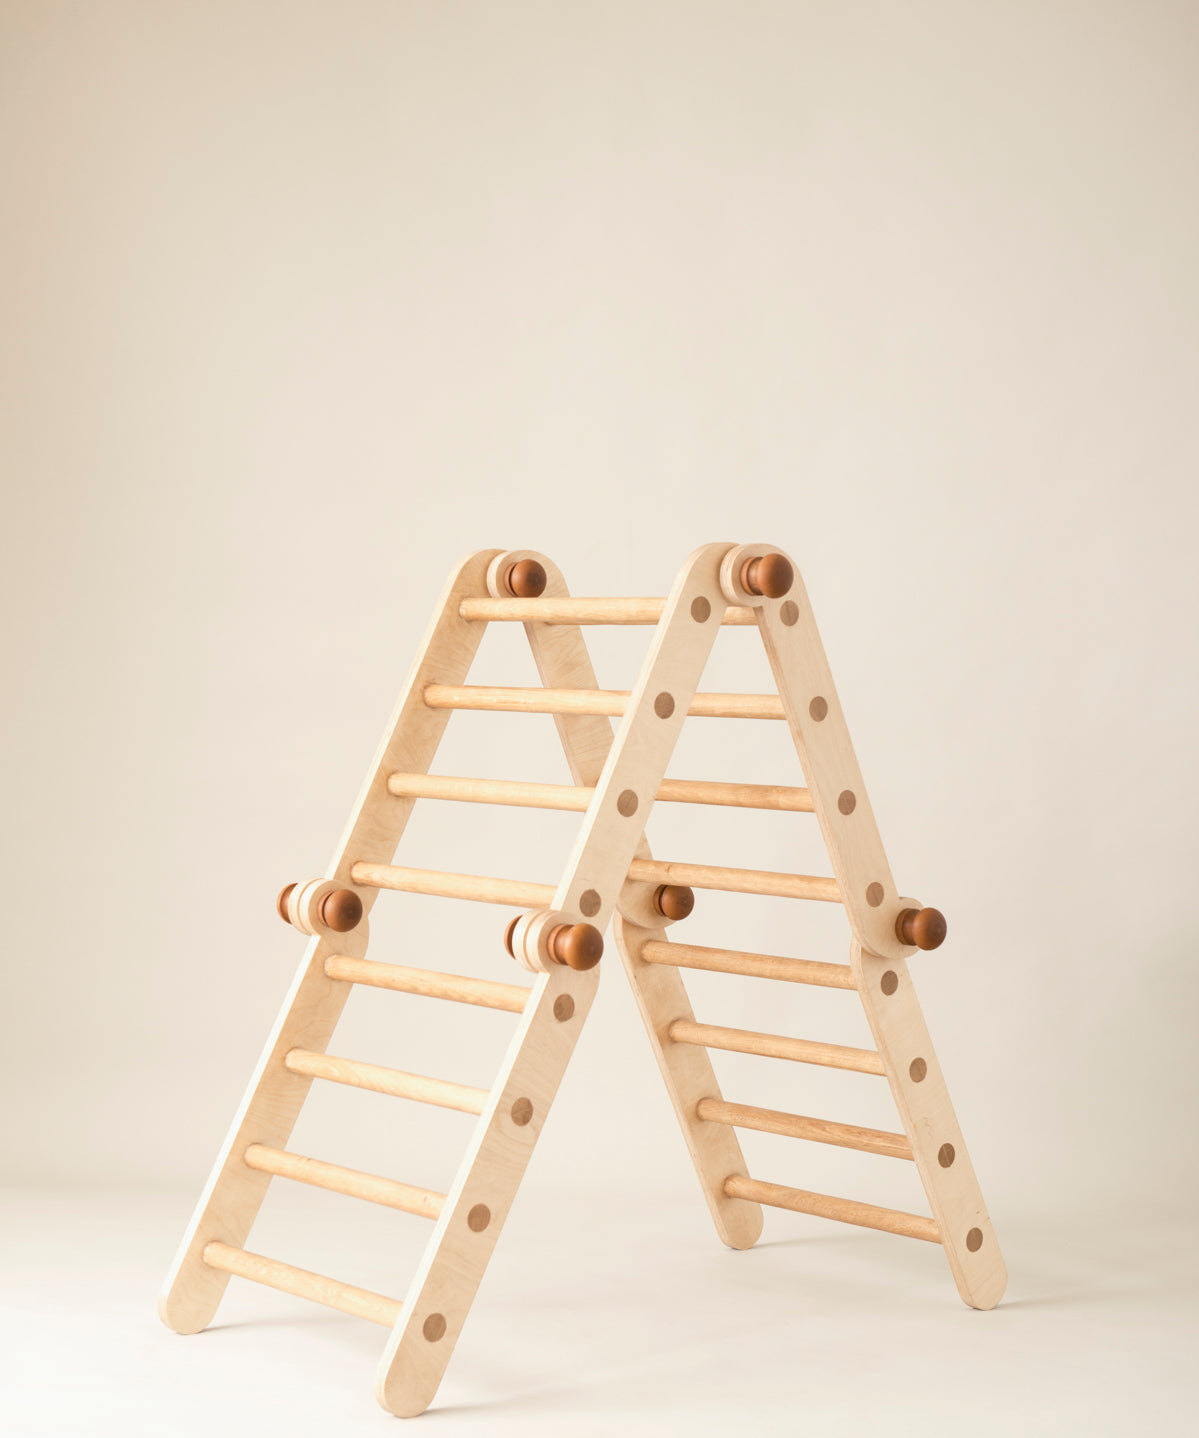
PIKLER POSITIONS
Making the “House” position
Making the “Mountain” position
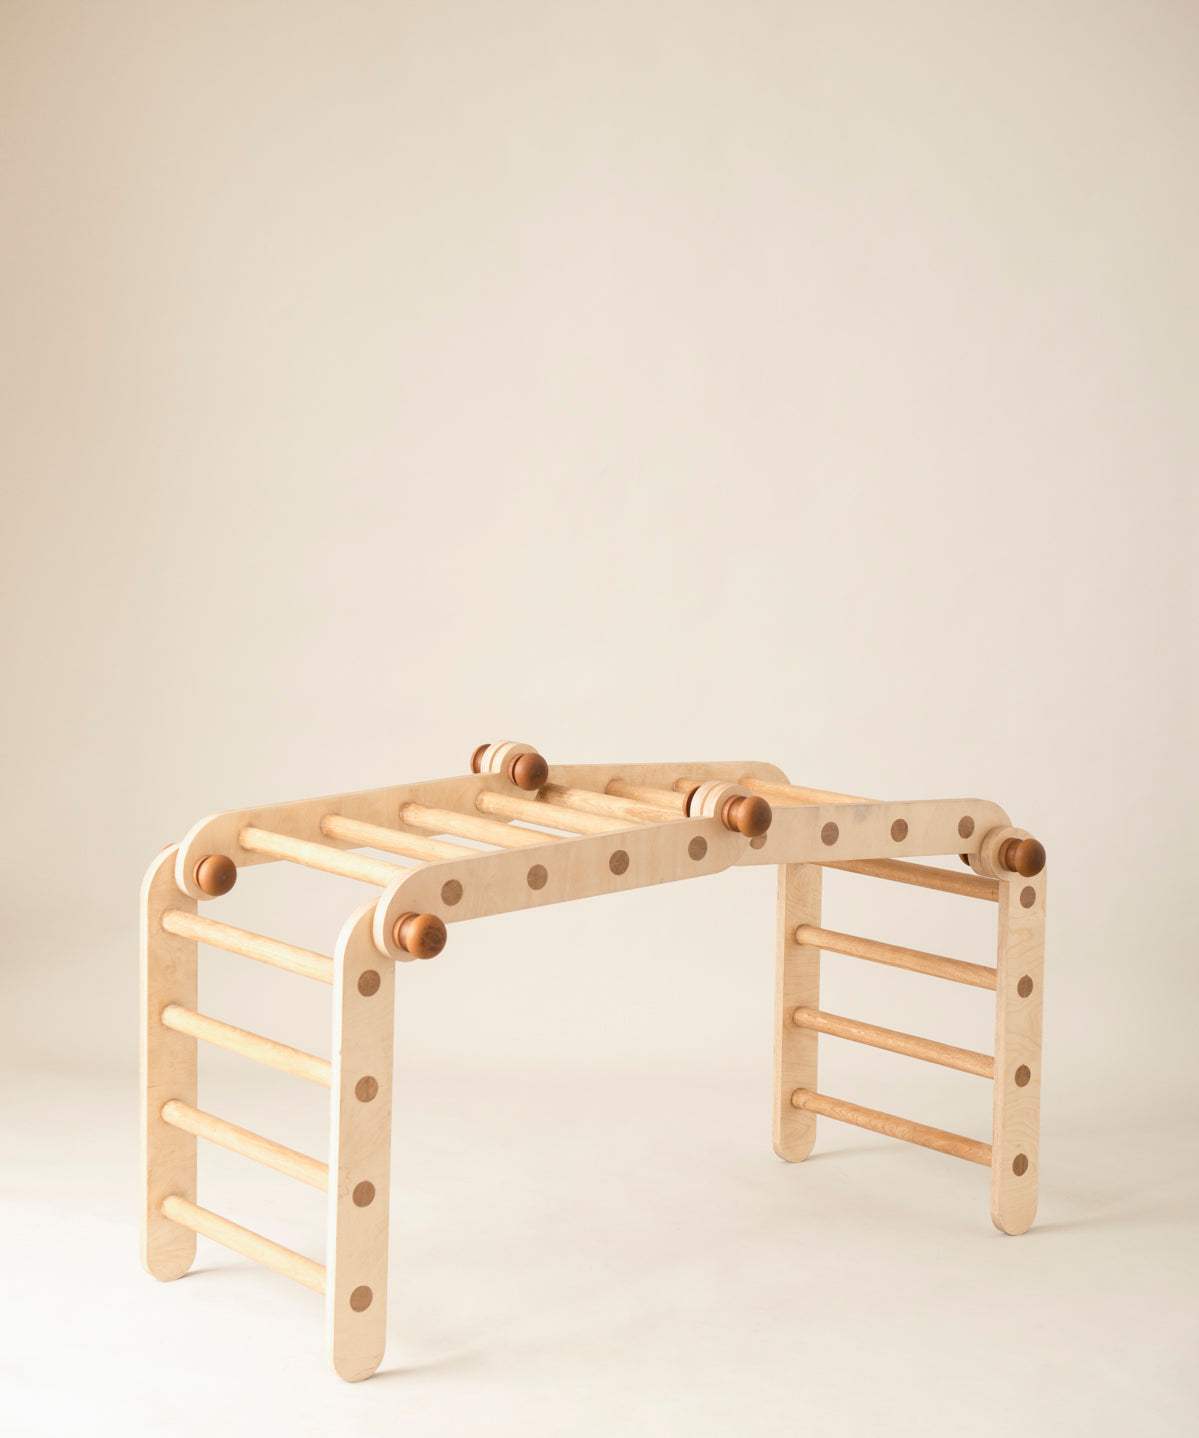
Making the “Bridge” position
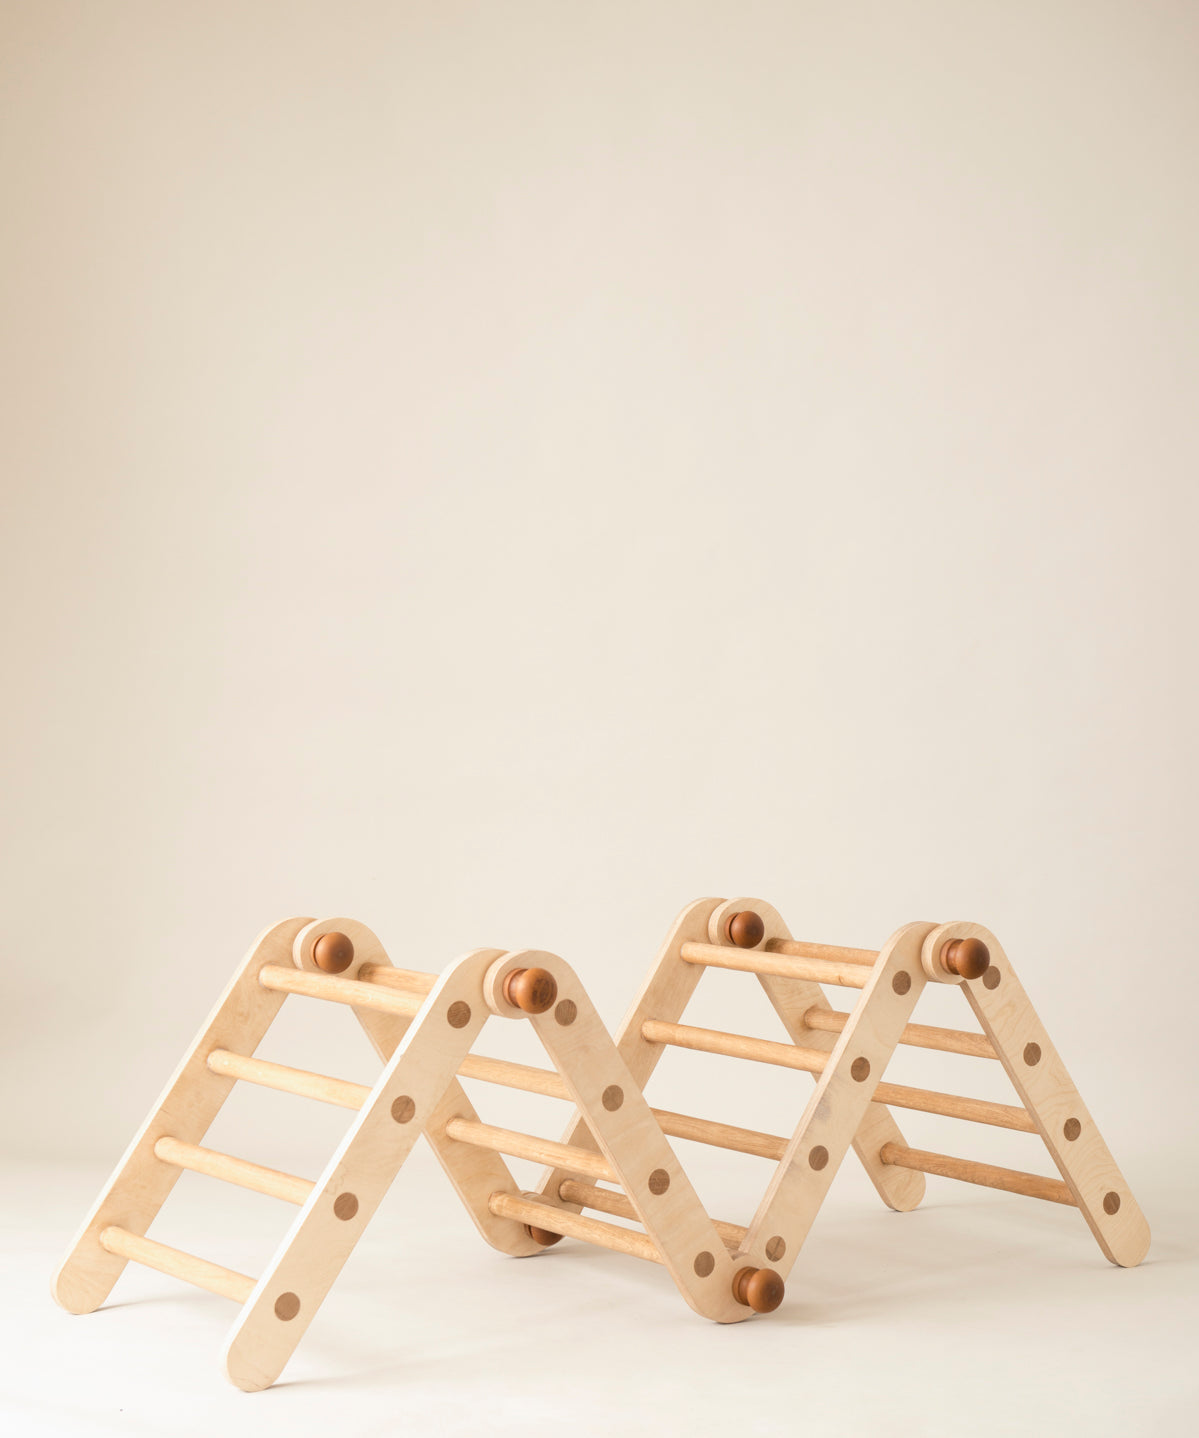
Making the “Zig Zag” position
PIKLER ATTACHMENTS

Installing the Wall Hook (New!)
For Piklers bought after 17.06.26
https://youtube.com/shorts/NuAJdf_e_gM?
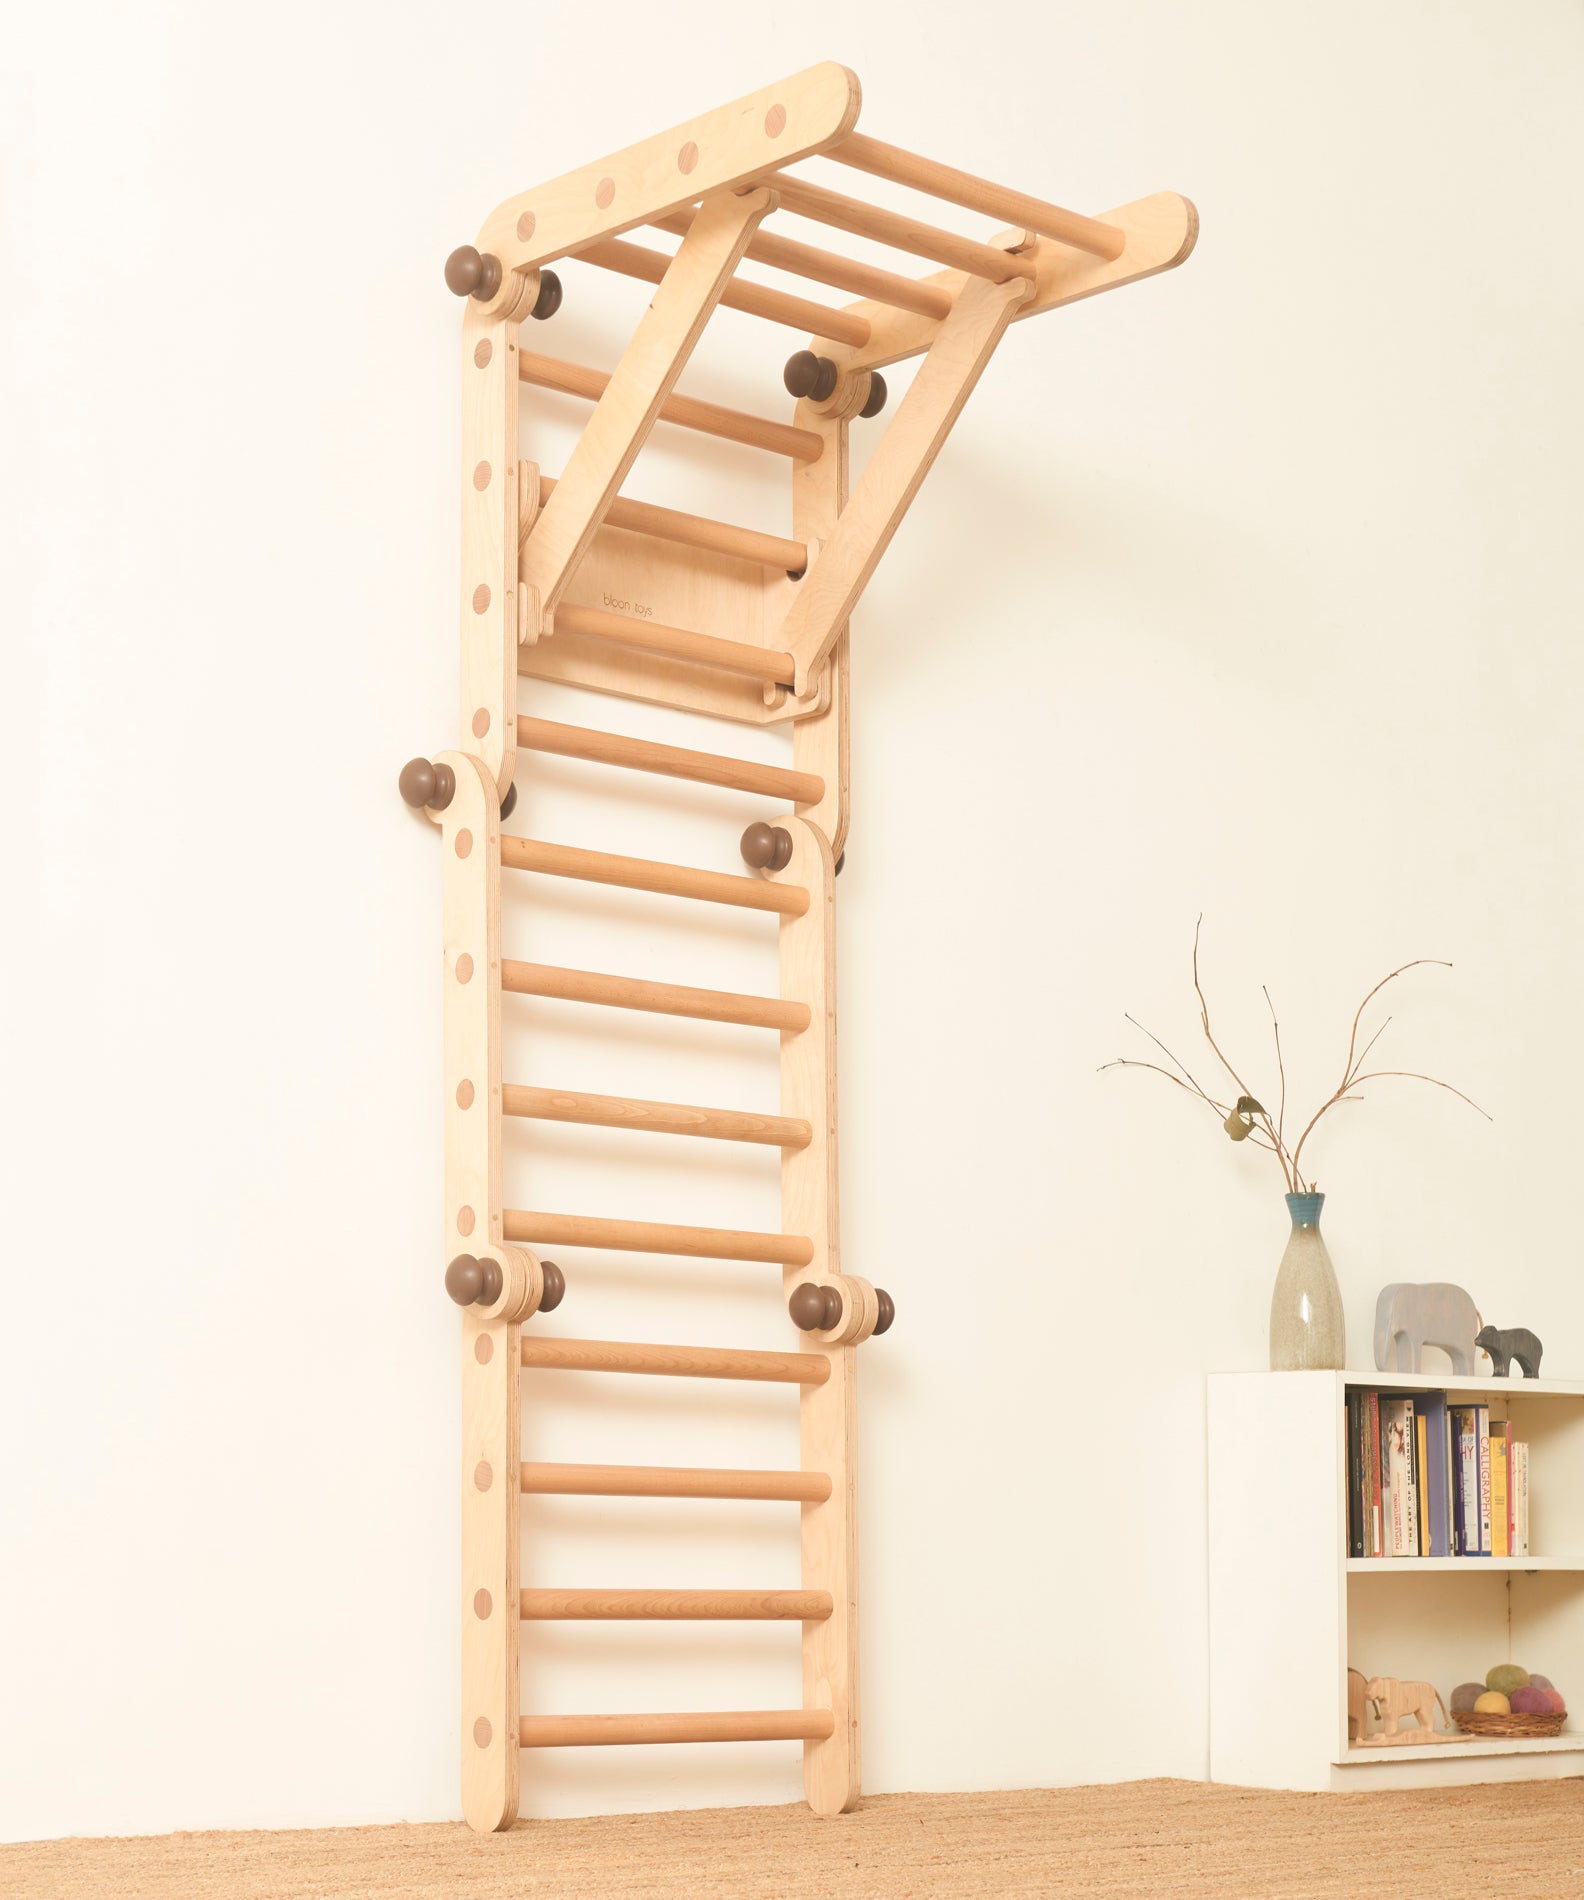
Installing the Wall Hook attachment
For Pikler 1.0 bought before 17.06.26 https://youtu.be/ccR3v4m91ms

Adding the “Hammock" attachment
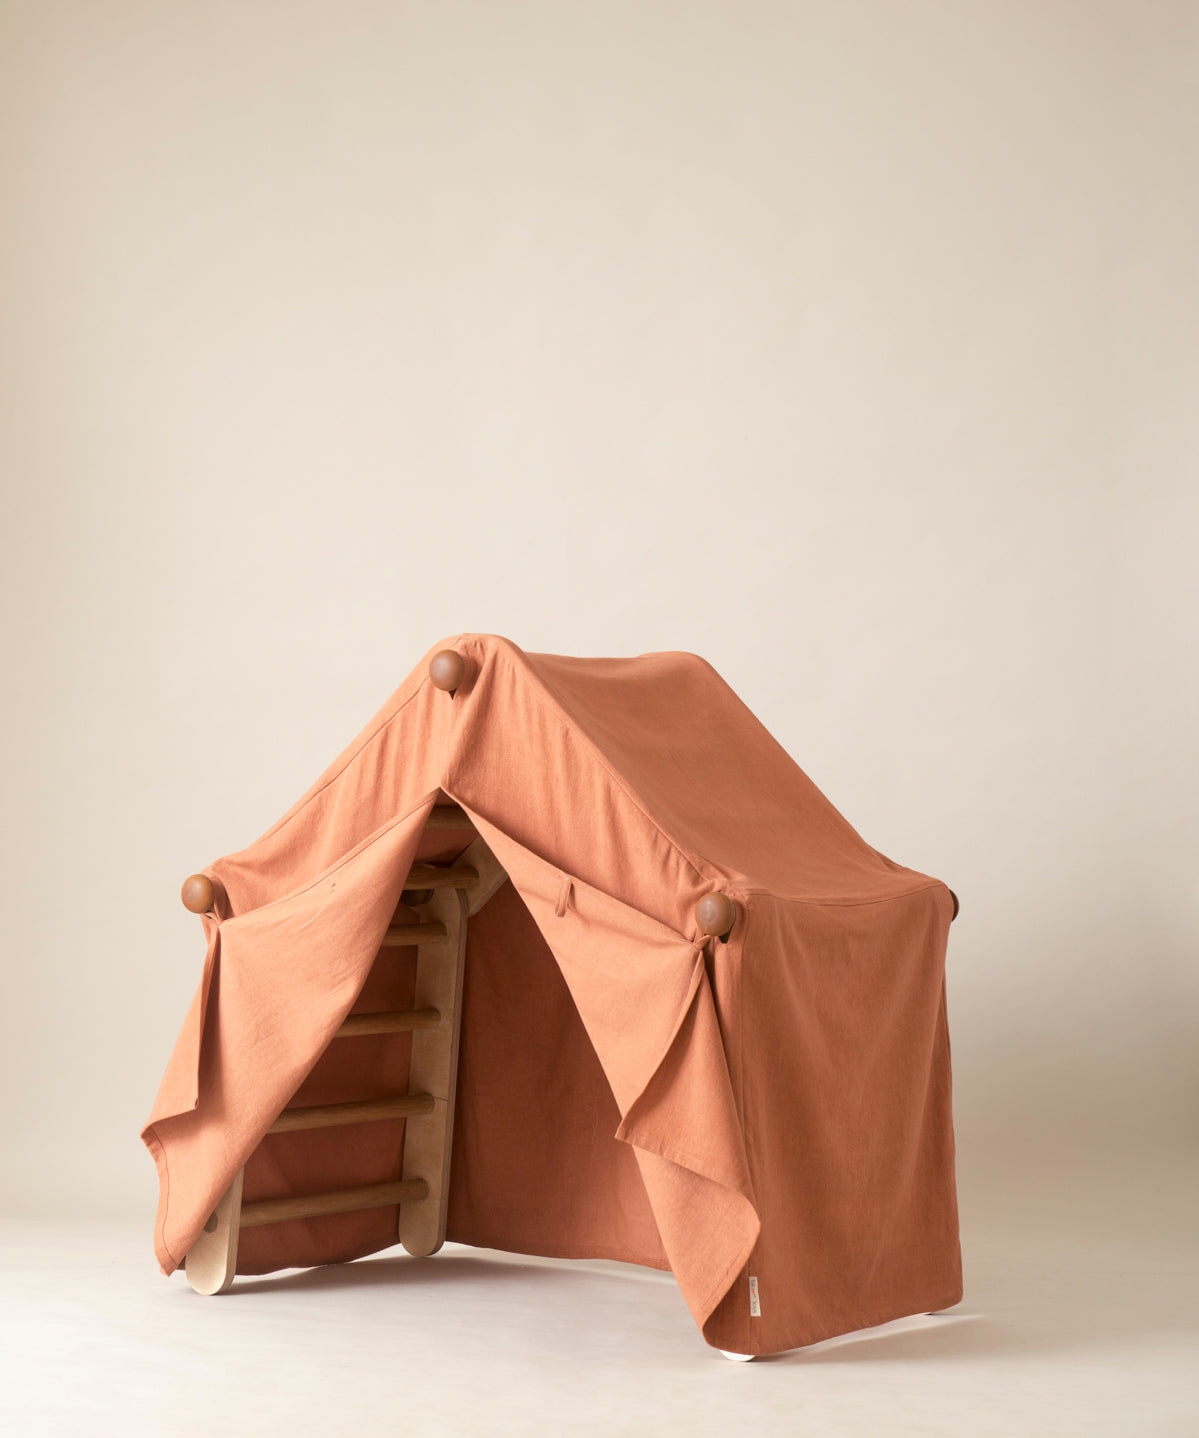
Adding the “Tent” attachment
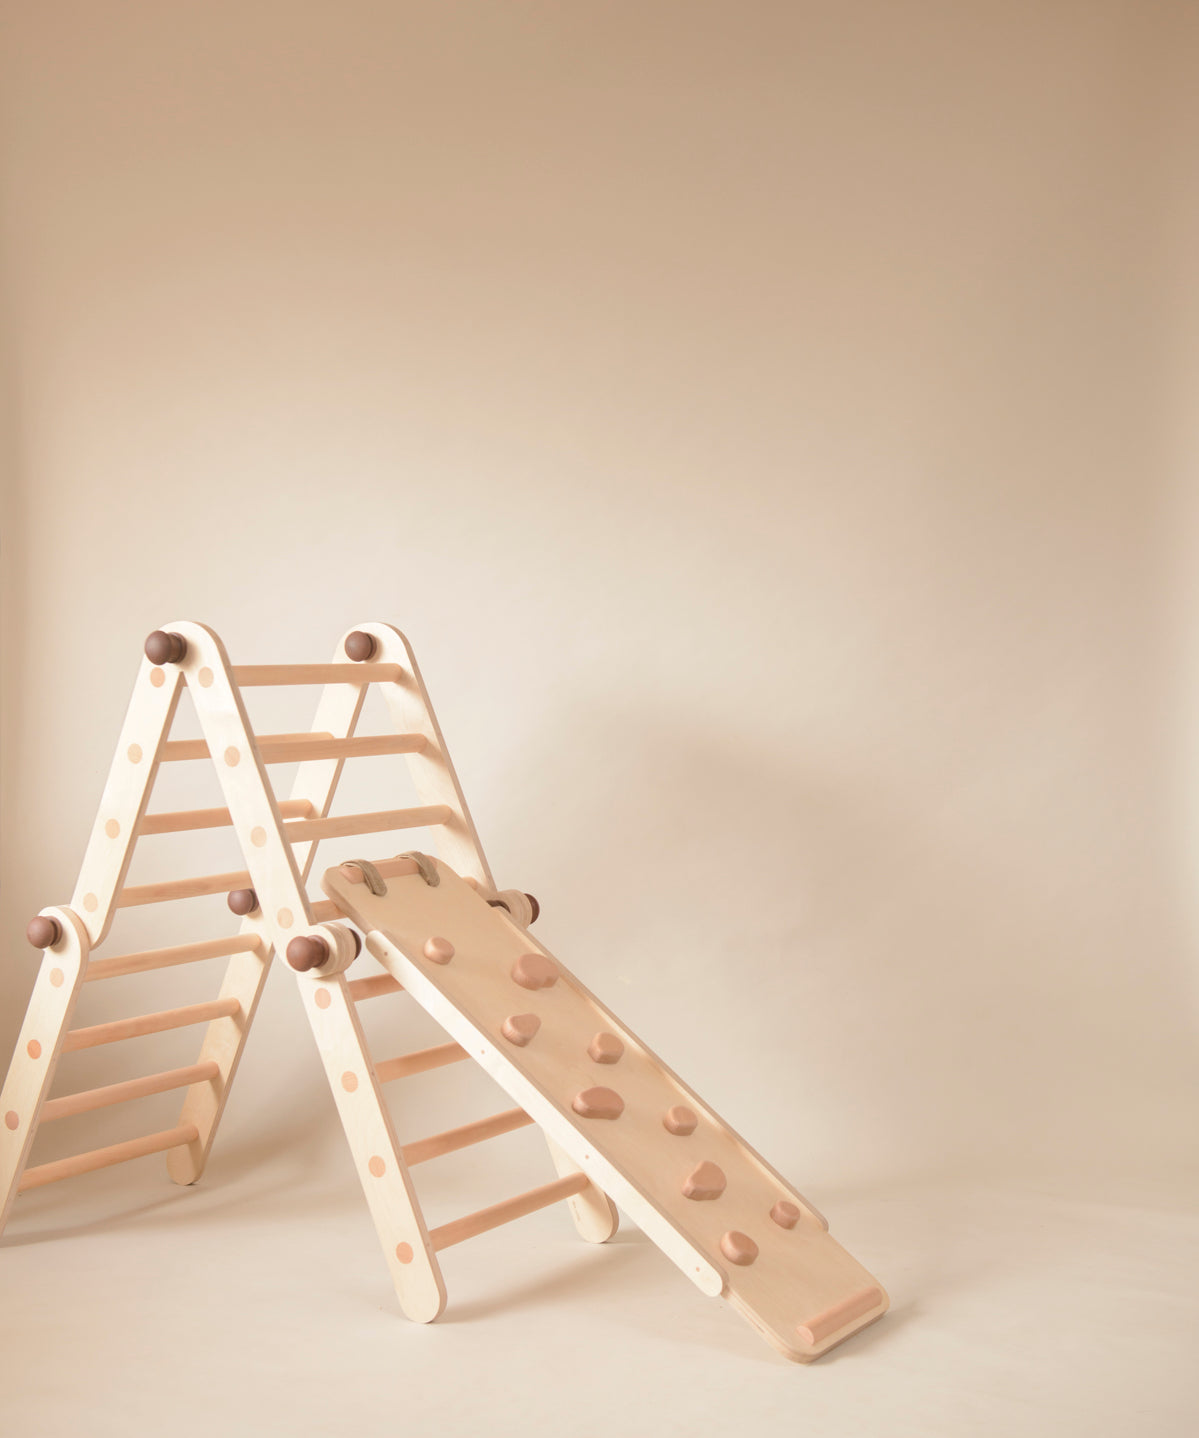
Adding the “Slide” attachment
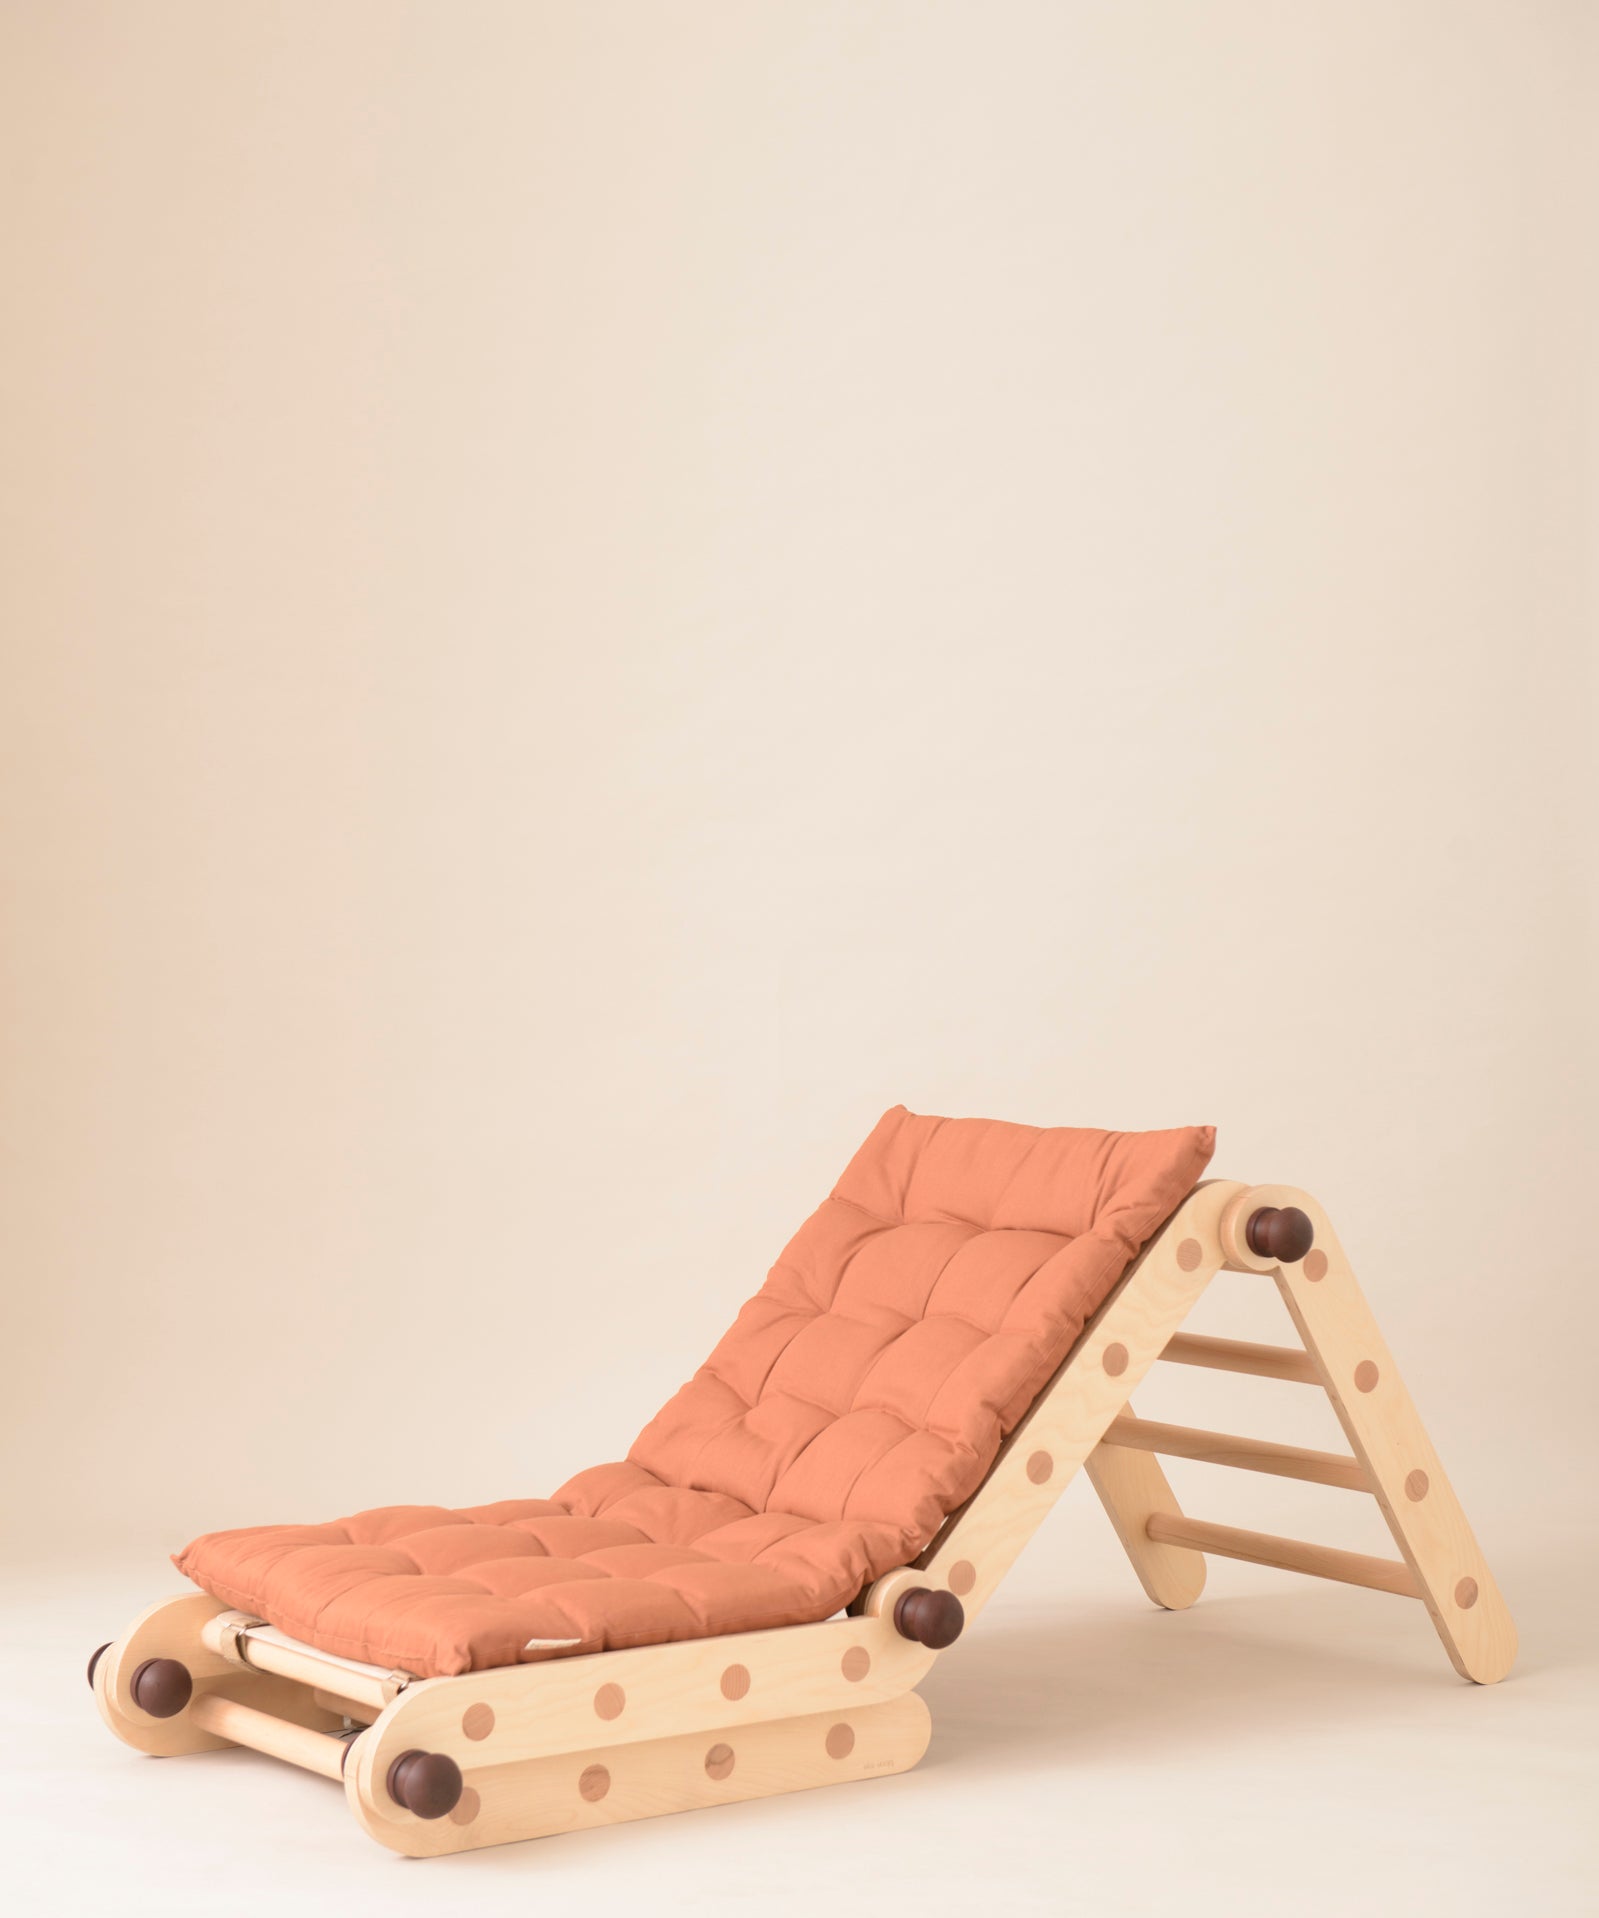
Adding the “Cushions” attachment
MODELLING WITH BEES WAX
Using Modelling Beeswax
101 WAYS TO USE THE BLOON PIKLER
